
How to Create, Design, and Print Funeral Programs Using Microsoft Word
Creating a funeral program is a personal way to honor a life, yet it can feel overwhelming when you are grieving. I want to help you make this process feel manageable and meaningful.
This article walks you through each step with clear, compassionate guidance. You will learn how to set up your document, choose a respectful design, add photos and words that tell a story, and print your programs with confidence.
Key Takeaways: Gentle Guidance for a Meaningful Task
I want to assure you that creating a funeral program is a manageable act of love. Many people find comfort in this hands-on task, a quiet way to honor a life.
The entire process naturally breaks into three clear phases: you prepare the content, design the layout, and then handle the printing. Thinking of it this way can make it feel less overwhelming.
Remember, this program is a personal tribute from you and your family. It reflects a unique person, so there is no single right way to do it. Your choices are what make it meaningful.
The technical steps in Microsoft Word are simpler than they might seem, and I will guide you through each one with clear instructions. You can focus on the memory, not the mechanics.
Step-by-Step Checklist: Your First Actions
-
Gather the essential information first. This includes the full name of your loved one, their birth and passing dates, the time and location of the service, and the names of immediate family members. Having this list on paper settles your mind and gives you a place to start. As you transition to funeral planning essentials and documents, this information will guide you in gathering key records and decisions. You may then collect copies of death certificates, burial or cremation preferences, and other required paperwork.
-
Select 2-3 favorite photographs. Look for images that capture their spirit, a genuine smile or a moment of peace. Choose pictures with good clarity, as they will print more clearly and feel more respectful.
-
Open Microsoft Word. Click on “File” then “New,” and in the search bar, type “funeral” or “memorial.” This will show you Word’s built-in templates, which are designed for this very purpose. If you’re specifically drafting an obituary, select the obituary template in Word to map out the sections and key details.
-
Choose a simple template that feels appropriate. Look for clean lines and calm colors. A straightforward design is often the most elegant and easiest to work with when your emotions are tender.
-
Save the document immediately with a clear filename, like “[Name]_Memorial_Program.” I have learned that saving early prevents the heartache of lost work during a difficult time.
-
Begin by typing in all the core text-the names, dates, and order of service-before you adjust fonts or move pictures around. Getting the words right first provides a solid foundation; the beauty can follow.
Common Mistakes to Avoid
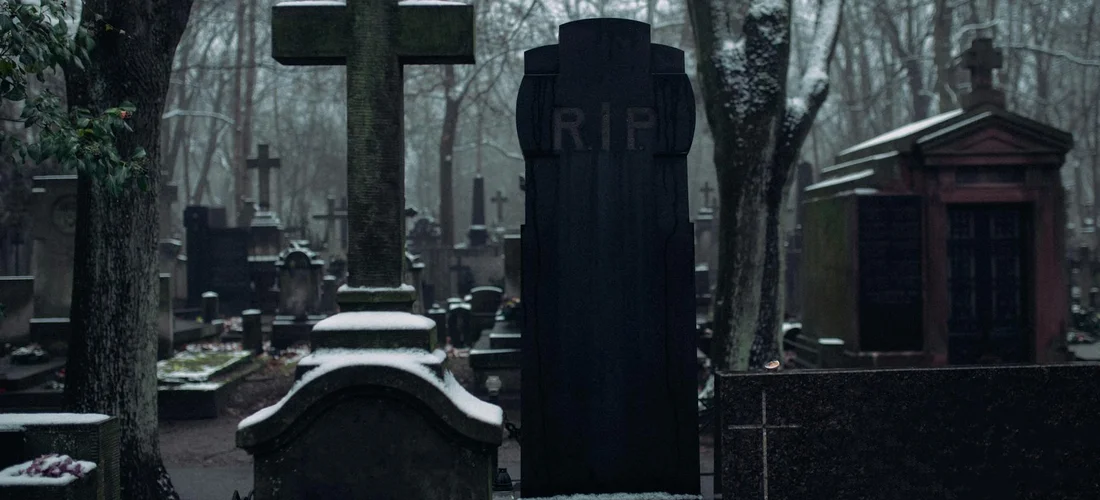
When you are grieving, small tasks can feel enormous. Managing grief through funeral planning can aid healing. Being aware of common pitfalls can save you from added stress. A thoughtful service can honor your loved one and help others grieve. Avoiding these mistakes will help create a program that feels respectful and complete.
Using a low-resolution photo is a frequent error. A small, pixelated image from a website will look blurry and smudged when printed. Always use the original, highest-quality photo file you can find, even if you have to scan a physical print.
It’s natural to want to include every memory, but an overcrowded page is hard to read. Script fonts and dense paragraphs can become a visual strain for guests. Choose one or two simple, readable fonts and leave generous white space; this creates a calm, orderly feel.
Proofreading feels tedious, but errors in a loved one’s name or the service time can cause deep hurt. Ask two other people to read every single word, especially dates, times, and names, the day before you print. Grief can make our eyes skip over mistakes.
Your home printer needs the right settings. Printing all copies on plain paper only to find the ink bleeds is disheartening. Do a single test print on the exact paper you plan to use, and check your ink or toner levels halfway through your print run.
It is easy to underestimate how many people will want this keepsake. Running out of programs during the service creates a quiet scramble. Print at least 25 percent more programs than you have guests, and keep the digital file saved in case you need more later.
What Is a Funeral Program and What Should It Include?
A funeral program serves two gentle purposes. It acts as a guide for the service, helping guests follow along. More importantly, it becomes a tangible keepsake that people hold onto long after the day is over. Planning a meaningful funeral program can make all the difference.
The cover is the first impression. It typically holds the full name of your loved one, their birth and passing dates, and a chosen photograph. This image often becomes the one people remember. Select a photo that captures their essence, whether it’s a recent picture or one from a happy time.
Inside, the order of service provides a roadmap. It lists what will happen and when, from the opening music to the final prayer. This structure can be a comfort, letting guests know what to expect. Including song titles, scripture verses, and the names of speakers offers a way for people to participate, even silently.
The biographical tribute is the heart of the program. This is a brief summary of their life story-their family, their work, their passions. You do not need to write a novel. A few heartfelt paragraphs that highlight what made them unique is a beautiful tribute.
Finally, a section for acknowledgements allows you to express gratitude. It is a place to thank caregivers, the funeral home, or specific friends. Think of this as the opening to your funeral thank-you cards. In the next steps, you’ll see sample wording and guidance on where to link resources to support your acknowledgements. This small gesture publicly honors the community that supported your loved one and your family.
Here is a simple checklist you can use to gather your thoughts and content:
- Full name of your loved one
- Dates of birth and passing
- A high-resolution portrait photo
- Order of service (music, readings, speakers)
- A short biographical tribute
- Special acknowledgements or thank yous
- Date, time, and location of the service
Think of each section as a way to guide guests through the experience. In many traditions, a traditional funeral service structure guides attendees through the ceremony. The order of service provides comfort through structure, while the biography and photo offer a lasting memory to hold. You decide what feels most right for honoring the person you miss.
How to Find and Choose the Right Template in Word

Open Microsoft Word on your computer. You will often see an option to create a “New” document. Click this.
Look for a search bar labeled “Search for online templates.” This is where you can find pre-made designs.
Type in words like “funeral,” “memorial,” “celebration of life,” or “program.” Press enter to see the results.
A list of templates will appear. Take a moment to scroll through them. I often advise families to choose a simple layout.
Simple designs with clean lines are often easier to work with and project a quiet, elegant dignity.
Starting From Scratch: How Do I Make a Funeral Template in Word?
Some people prefer to build from a blank page. Start a new, empty document in Word.
Go to the “Layout” tab. Click “Size” and ensure it is set to “Letter.” Then, click “Orientation.”
For a program that folds in half, choose “Landscape.” This gives you a wide page you will later fold.
You can create structure using the “Columns” tool under the same “Layout” tab. Two columns work well for a folded program.
Text boxes, found under the “Insert” tab, let you place words and photos anywhere on the page.
Using a template is faster, but starting from a blank page offers you total creative control during a time when control can feel comforting.
Customizing Your Program: A Step-by-Step Guide
This is the personal, meaningful part of the process. Here, you transform a template into a tribute.
Entering the Text: The Heart of the Program
In your template, you will see placeholder text like “[Name]” and “[Date].” Replace these section by section.
For the biographical note, write a few brief, heartfelt sentences. Think of a favorite memory or a quality everyone loved.
A short, genuine story about the person often means more than a long list of facts.
The Order of Service is a timeline for the day. List each part clearly, like “Opening Words,” “Musical Selection,” and “Remembrances.” In a funeral service order structure, items are arranged for a respectful progression. Place transitions thoughtfully to keep the service cohesive.
Use a simple list format. This helps guests follow along and know what to expect.
How to Add Photos and Images with Care
Click where you want the photo to be. Go to the “Insert” tab at the top and select “Pictures.”
Find the image file on your computer and click “Insert.” You can then click and drag the corners to resize it.
Use the highest quality photo file you have. A blurry picture can be distressing when printed.
A clear, loving portrait on the cover is traditional, while a candid, joyful photo inside can capture a different side of their spirit.
Best Practices for Honoring with Photography
Choose a photo where the person’s essence shines through. Look for a genuine smile or a familiar expression.
When resizing, always drag from the corner. Pulling from the sides will stretch the image, making it look distorted.
Right-click the image and find “Wrap Text.” Choosing “Tight” or “Behind Text” gives you much better control over how text flows around the photo.
How to Change Fonts and Format Text for Readability
Limit yourself to one or two simple fonts. A classic serif font, like Times New Roman, is very readable for the main text.
Consider using a slightly larger font size, like 12 point. This is easier for eyes of all ages to read, especially in a subdued setting.
You can use bold type or a subtle, dark color like charcoal grey for the person’s name and section headings.
Sparing use of emphasis guides the reader’s eye quietly and respectfully, without creating visual noise.
Finalizing Layout: Margins, Orientation, and Page Size
Go to the “Layout” tab and click “Margins.” Select “Custom Margins.”
If printing at home, slightly wider margins help. For professional printing, “Normal” margins are usually fine. This is the final check before printing.
Remember, a “Landscape” orientation on a letter-sized page creates the standard folded program. “Portrait” orientation is for a single, unfolded sheet.
Confirm your page is set to Letter size, which is 8.5 inches by 11 inches. This is the standard paper in your printer.
Checking these details ensures the program you hold in your hands feels solid, considered, and worthy of the moment.
Preparing to Print: Your Options and Considerations
This step is about quiet preparation. A little forethought now can spare you last minute worries when emotions are tender.
How Many Funeral Programs Should You Print?
Start by estimating the number of people you expect. Then, add fifteen to twenty five extra copies.
These extras are for keepsakes, for distant relatives, or for anyone who wishes to hold a memory in their hands.
I always advise printing a few more rather than fewer. Running out feels more distressing than having a small stack left over.
What Are the Best Practices for Printing at Home?
Always print a single test copy on plain paper first. This lets you check for any misaligned text or faded colors without wasting good materials.
For the final prints, choose a heavier cardstock. Its weight conveys care and substance, which people appreciate during a service.
Before you print the batch, open your printer’s properties dialog. Select the paper type you are using and set the print quality to “Best” or “High Quality.” This simple change makes a noticeable difference.
How to Save and Export for Professional Printing
To take your file to a print shop, save it as a PDF first. In Word, go to “File,” then “Save As,” and choose PDF from the file type menu.
Saving as a PDF locks your formatting in place, so nothing shifts when it’s opened on another computer.
Many office supply stores offer this printing service. The cost depends entirely on your choices for paper weight, the number of copies, and whether you use color. It is worth asking for a quote.
A Note on Other Software: How to Create a Funeral Program in Publisher
Some people have access to Microsoft Publisher, which is built for more complex layouts. It offers greater design flexibility with templates.
For creating a respectful and clear program, Word is perfectly sufficient and far more common on home computers.
If you are comfortable with Word, you likely have all the tools you need. Publisher is simply another room in the same house, should you wish to explore it.
Frequently Asked Questions
How to create a funeral program in Microsoft Word?
Start by opening Word and selecting a “funeral” or “memorial” template from the New document menu for a guided, respectful layout. Then, thoughtfully customize it with your family member’s information and photos, following our compassionate step-by-step instructions to create a meaningful tribute.
What are the best practices for printing funeral programs at home?
First, print a single test copy on plain paper to verify layout and text clarity without wasting materials. For the final batch, use heavier cardstock and set your printer to high-quality mode to produce a durable, dignified keepsake for guests.
How to save and export the funeral program for professional printing?
Save your document as a PDF via “File” > “Save As” to preserve all formatting and images securely. This ensures the print shop can reproduce your program exactly as intended, providing a professional result with minimal stress.
Parting Reflections on Funeral Program Design
The most important step is to approach the design with a gentle focus on the life being remembered. Using Microsoft Word, you can create a program that feels personal and respectful, without overwhelming yourself.
Part of dignified Funeral Care involves considering eco-friendly materials for your printed programs. A green, eco-friendly funeral can reflect your care for the planet while honoring your loved one. You can explore eco-conscious options that minimize environmental impact while staying true to your tribute. I encourage you to continue learning about Funeral Needs and Funeral Questions, as this can offer reassurance and practical guidance.
Emiliana Dieter
Emiliana is an author at The Valedictory. She is an experienced funeral care advisor and arranged and organized many funerals as part of her end of life consulting services. She has over 8+ years in the funeral industry managing her family funeral business and helping families cope with the loss of their loved ones. Her articles answer any and all questions you might have regarding funeral arrangements, costs, preparations, etc so you can make this a seamless experience.